Template Tasks
Working with Template Tasks
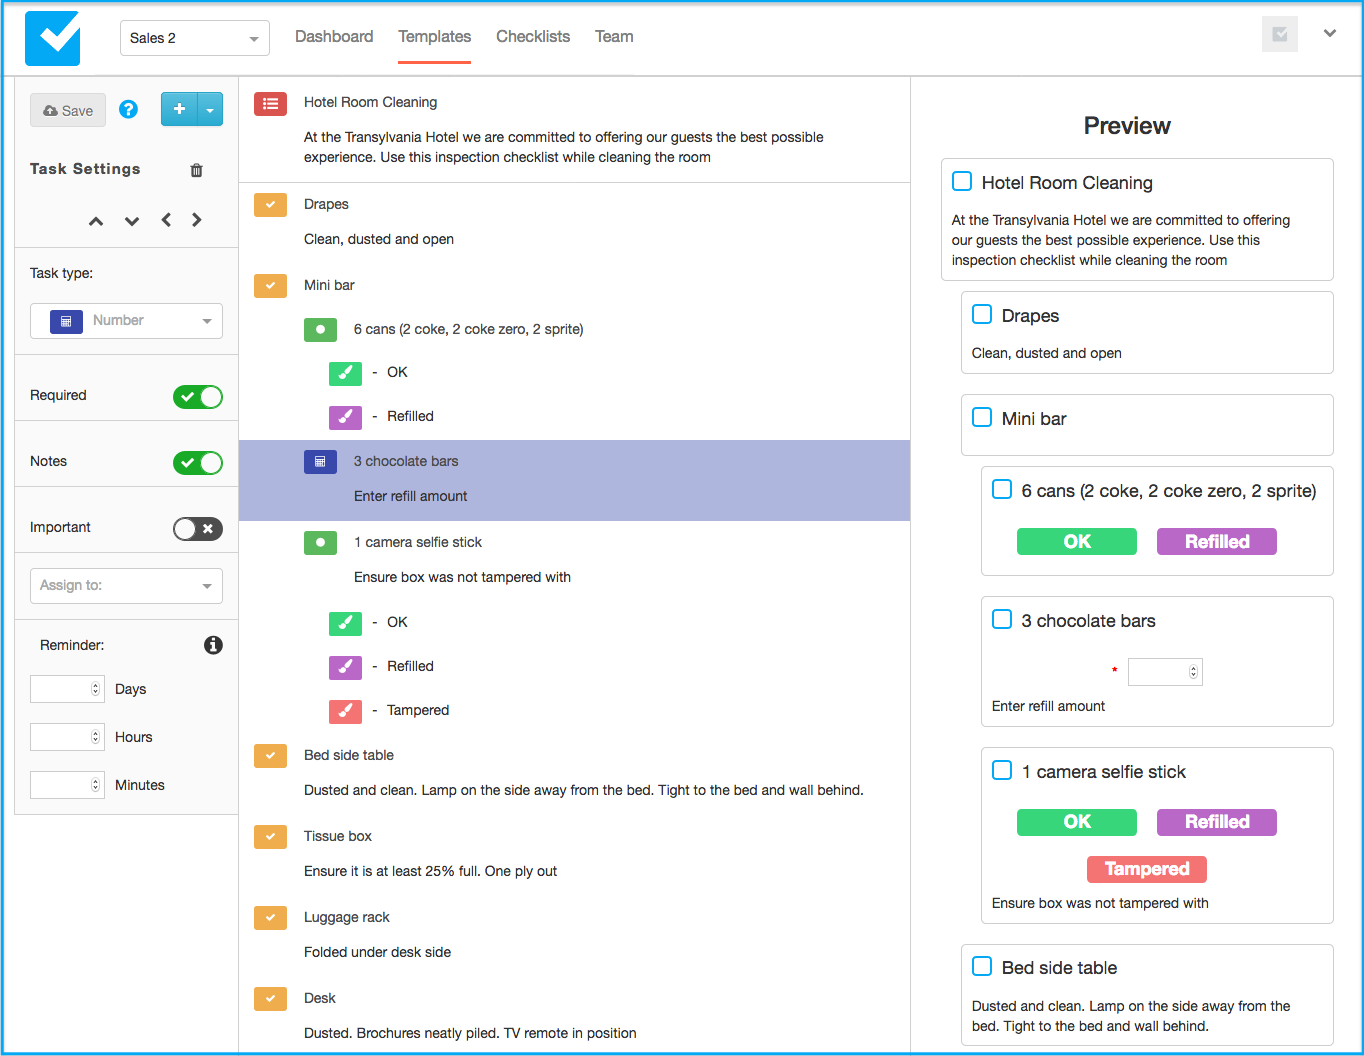
Each template is made of multiple tasks which may be nested in sub-tasks. When creating a template you start with no tasks. Let's see how to add tasks, move them around and update their type and properties.
Each task may have the following:
- Name
- Type
- Notes
- Required flag
- Importance flag
- Assignee
- Reminder
We will use our hotel example with the following Weekly Rooms Inspection template. Note how the tasks are arranged in a tree structure with tasks and sub tasks.
How to add tasks
There are three ways to add a task:
- Inline Keyboard. When editing a task name, click ENTER on your keyboard and a new task will be added right below the task you were editing. This is by far the easiest way to work with the editor and you can simply add task after task while previewing the changes on the right.
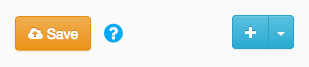
- Single add. Clicking on the + button on the left pane. A new task will be added right under the task previously selected.
- Multi add. Clicking on the drop down next to the + button and then selecting Add Multiple Tasks. This will open a dialog window where you can add multiple tasks in a text area. You can use TAB to make sub tasks etc. See the window for more details.
The Add (+) button:
Moving tasks around
Once you have added a few tasks, you may re-order them by using the UP and DOWN buttons.
You can group several tasks into sub-tasks. In the example above we have grouped several tasks (cans, chocolate and selfie stick) into the Mini bar task. You can have as many sub tasks and levels as you like but we recommend not to go beyond 3 levels for practical reasons.
To group tasks into sub tasks, go to the first task you wish to make into a sub task and click on the RIGHT button. Do the same for each task below it.
To un-group sub task, select the task and then click on the LEFT button.
You can find the move buttons on the left pane:
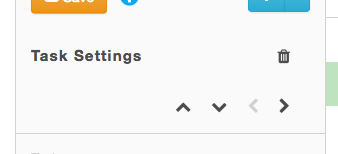
Deleting a task
A task can be deleted by clicking on the Trash (see the image above).
Note: there is no confirmation popup and the task (and any sub tasks) will be immediately deleted.
Renaming a task
Simple click on the text you wish to change. You can move left and right with the cursor and make changes.

Tip: if you do not like your changes, click ESC and they will be discarded.
Adding and editing Task Notes
You can use the notes to provide the user with more instructions or tips on accomplishing the task.
From the Task Settings pane, click on the task notes toggle to activate it. You will see that a notes text box appears under the name of the task in the middle pane. You can add or edit your notes. These notes will appear on the Preview pane once you are finished.

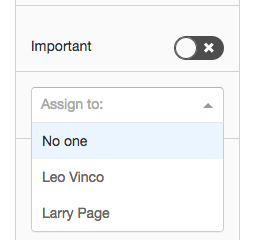
Marking tasks as important
Some tasks are more important than others. Marking a task Important will be visually noticeable to the user and will show up in their Important smart list on the Checklist app.
To mark a task as important, use the Important toggle on the left pane:

Required Tasks
Non-default task types (i.e Check) are marked as Required by default. This means that users must fill out a value (or attach a file) in order to complete the task. Once a value is entered, the task is automatically marked as completed.
To make changes to the Required option, use the toggle on the left pane:

Assigning tasks
You can assign individual tasks to members of your team. When the checklist is triggered, they will see their name or icon next to the task and know it is their responsibility.
To assign a task to a team member, select them from the Assign To drop down. If you wish to remove an assignee, select the first option (No one).
Setting Task reminders
Ensure your team stays on top of their tasks by setting reminders. You should set how long after the checklist was created the reminder should be triggered. This can be in days, hours or minutes. E.g. if you have checklist created daily at midnight, set 09 hours and 30 minutes to get a reminder at 09:30 am. Reminders are triggered if the task has not been completed.
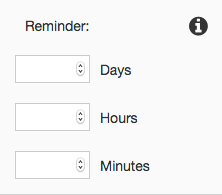
Remember: the reminder is set from the moment the checklist is created (i.e. Run directly or via a schedule).
Read next: Task Types